The new school
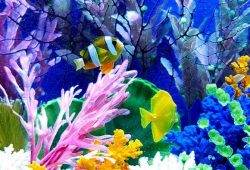
In this article I’ll tell you about The new school. A healthy, well aquascaped planted aquarium will almost always impress the onlooker whether they are a fishkeeper or not.
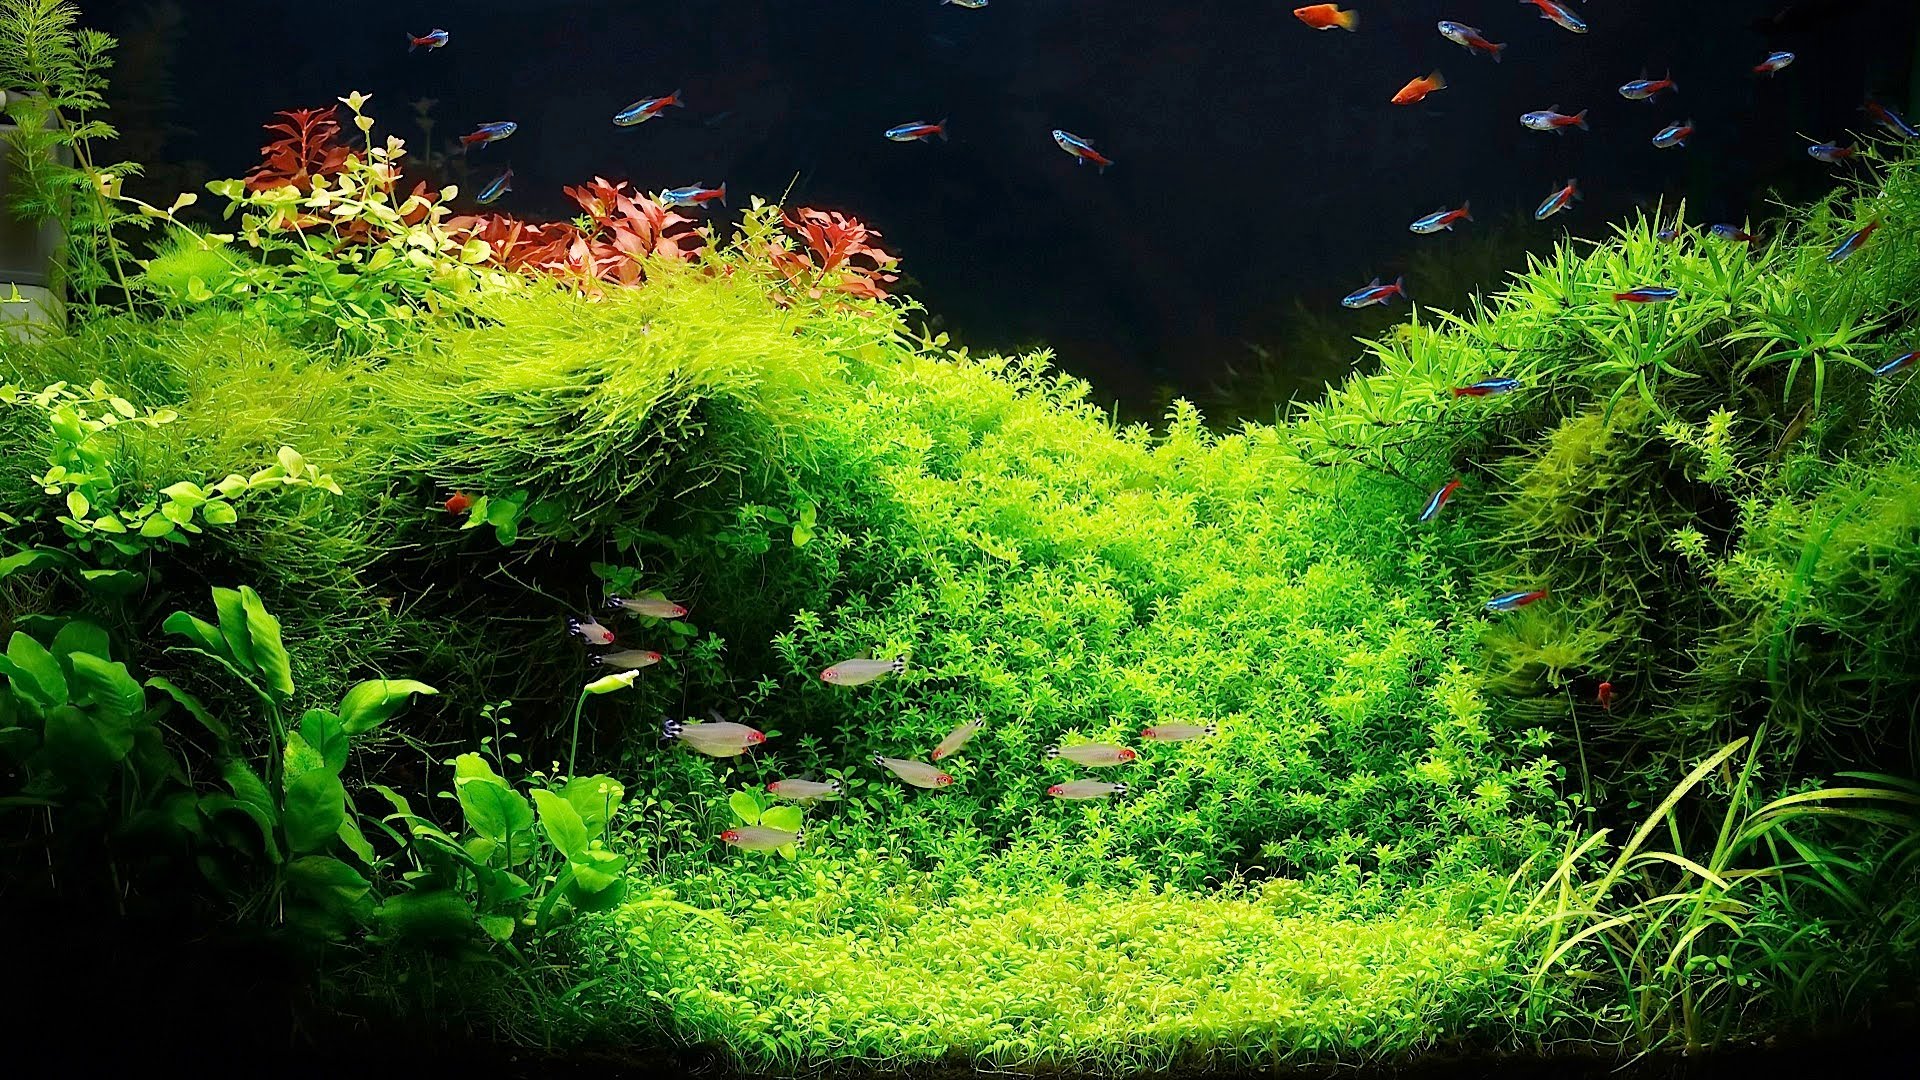
Not only does it provide an aesthetically appealing, natural focal point to the room, the plants themselves provide benefits to the tank’s occupants.
Unfortunately, attempts to create such beautiful aquariums are often met with failure due to a combination of factors ultimately leading to dreaded algae blooms and suffering plants.
The aim of this three part series is to show that setting up and maintaining a well-planted tank is within the reach of the majority of hobbyists.
There will be an emphasis on utilising appropriate equipment and modern techniques, commonly referred to in this hobby as the hi-tech, new school approach.
Contents
What is new school?
The hi-tech planted tank has been with us for many years. Pioneered in Europe by the likes of Dupla and Dennerle back in the 1980s, the main principles are based on plenty of light, CO2 injection, nutrient-rich substrate with heater cable, regular liquid fertilisation and frequent partial water changes.
With the increasing demands of today’s enthusiast who wishes to grow demanding plants (carpets of Glossostigma elatinoides for example) these techniques have had to evolve to a new level.
The biggest development is a fertilisation technique where the daily dosing of nutrients such as nitrates, phosphates and iron are actually necessary to keep the plants healthy and growing rapidly, and fast-growing plants means less nuisance algae.
The beauty of this new methodology is that, providing you follow the guidelines set out in these articles, you will be able to grow almost any plant successfully without risk of problem algae.
Filters, flora and fauna
The most important aspect for any aquarium is keeping the water healthy for its occupants.
A planted tank is no exception and choosing the correct filter for the job is essential to ensure long term health of both plants and animals.
Effective biological filtration is vital to minimise ammonium/ammonia and nitrite levels.
Not only is ammonium toxic to fish, it is a very significant nutrient in the triggering of intense algae growth.
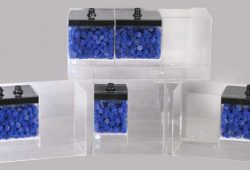
External filters are by far the best option for any planted tank, even for smaller aquariums.
Last year’s Best of Show winner of the Aquatic Gardeners Association (AGA) aquascaping contest, Justin Law, uses an Eheim 2224 (designed for volumes up to 250 l./55 gal.) in his wonderful 45cm/18” 32 l./7 gal. set-up.
The beauty of an external filter is that it is hidden from view with only the inlet and outlet on display that can be easily disguised or hidden.
Maintenance is simple and a variety of media can be used. Always choose a filter rated for a larger tank, ideally double or more ie. a 100 l./22 gal. tank should have a filter rated for 200 l./44 gal.
This way there is plenty of filter media and maintenance will be easier with the filter remaining cleaner for longer, thus retaining maximum nitrifying efficiency.
Let it flow
Contrary to popular belief, flow rates do not have to be very low. Turnover figures of less than the tank’s volume per hour have been recommended but in my experience between three and five times the tank’s volume per hour works very well, with many successful planted aquarium enthusiasts running higher turnover rates.
With this higher level of circulation the nutrients (including CO2) in the water are more available to the plants, a phenomenon known as the boundary layer effect and witnessed by PFK’s own Peter Bradley in his low-tech experiment tank.
Using a submerged spray bar one can ensure the flow is directed appropriately to minimise disturbance to the plants and surface agitation that can drive off valuable CO2.
A simple technique I have used to reduce turbulence is to drill out the spray bar holes larger. The same effect can be achieved by adding more holes.
Another filter output method becoming more popular is the lily pipe. Made of glass, it is discreet yet very effective at moving water around the tank, being hydro dynamically designed to provide a moderate circulation – even with large flow rates.
Its unique design means water flows around the tank horizontally and vertically ensuring that nutrients are effectively distributed and minimising potential dead spots that can contribute to excess anaerobic bacteria and algae production.
Filter media should be cleaned (in old aquarium water) between once a month and once every three months depending on stocking levels and filter size. Obviously the bigger the filter and the lower the fish load, the less it will need cleaning.
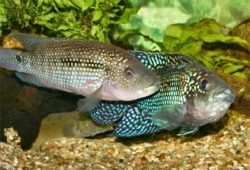
Ideally, a planted tank should be heavily stocked with plants and lightly stocked with fish.
A maximum of 2.5cm per 4.5 l./1” per gal. of small fish is a good rule of thumb, bearing in mind that bigger fish generally create more waste per inch, ie. a 15cm/6″ plec will produce more waste than six 2.5cm/1″ tetras.
The waste fish produce is the biggest nitrogen-related algae trigger (20x more than nitrate) so limiting fish will help limit algae.
Let there be light
It has been stated that there is no such thing as too much light in the planted aquarium.
This is generally true, providing the high light levels are balanced with a high planting density, levels of CO2 and other nutrients.
Sunlight should be avoided due to its uncontrollable nature and its possible effect at stimulating algae and cyanobacteria (blue green algae) growth, so site the aquarium in a suitable location.
Fluorescent is the most familiar and available type of lighting for the aquarium.
T8 is the best seller and provides the greatest choice in tube size and spectrum. High-output T5 and Power Compact T5 (HO T5 and PC T5) are now becoming more popular and greater intensities are produced with equivalent sized tubes.
The T8 and T5 refer to the diameter of the tube in eighths on an inch so T8 is 1″ and T5 is 5/8″.
Metal halide lighting is sometimes used in the planted aquarium and has the advantage of giving a natural ripple and shadow effect.
Disadvantages are relatively high cost and possible heat generation, although suspending these over an open tank can reduce this risk. Fluorescent lighting can also be suspended over an open tank in specially designed overtank luminaires.
The right light
Light measurement is a complex subject but there are basic guidelines that can help. The Watts per gal. (WPG) guide is popular and effective if a little controversial as it does not take into account all types of lighting, tank shapes and sizes.
Aim for a minimum of 2.5W per gal./4.5 l. This assumes you have a regular shape and size aquarium ie. 60 l./13 gal. to 200 l./44 gal. with good fluorescent lighting and reflectors.
Smaller tanks require more light per volume and larger tanks less light per volume, a phenomenon known as the minimum light threshold.
A good example is my own Juwel Rio 125 (125 l./27 gal.) aquarium. It has 4 x 18W T8 fluorescent tubes, so 72W per 27 gal. therefore giving 2.7 WPG. Levels between 2.5 and 5 WPG are commonly used in hi-tech aquariums with some enthusiasts running higher intensities.
The more light, the more growth and the more nutrients required. At the same time it is worth remembering that more plant growth equals less algae growth, providing CO2 and other nutrient levels are dosed accordingly.
It is all about maintaining an ideal balance of light, nutrients and planting.
It is unfortunate that nearly all aquarium kits are supplied with insufficient light for the hi-tech planted tank so adding more tubes will be required. There are various methods of supplementing light.
In my Juwel Rio 125 I have doubled the existing lighting by using a Hagen twin electronic ballast, two extra 18W T8 tubes and Juwel reflectors. The tubes are simply balanced on the tank’s centre brace with the cables’ tension providing ample stability.
Other aquariums may require more elaborate DIY skills to boost lighting levels.
As a very basic rule of thumb, a minimum of 4 x T8 fluorescent, 3 x T5 HO or 2 x T5 PC tubes with reflectors spanning the length of the tank will provide sufficient lighting.
We hear a lot of talk of special plant growth tubes with specific spectrums.
There is an element of truth in that plants do prefer some types of light over others but providing there is enough quantity of light then the plants are generally not fussy.
I have successfully grown plants with a broad range of colour temperatures and spectral outputs. I now prefer to use full-spectrum daylight type tubes with a colour temperature of 6500K and a very high colour rendition index (CRI).
For me these produce the very natural looking colours and particularly bring out the greens of the plants. Full-spectrum tubes that work well in my experience are Sylvania Activa 172, Interpet Triplus, Interpet Daylight Plus, Arcadia Freshwater Lamp, Hagen Life-Glo and the Dennerle range.
Actinic tubes and those designed for marine/reef aquariums should be avoided as these can stimulate algae growth. If possible, go for the full-spectrum or tri-phosphor types as these produce the highest intensities and generally last longer.
Most tubes will need changing every 12 months as their intensities reduce and spectrums change over time. Change one tube at a time to allow the plants to adjust to their new lighting.
Nine or ten hours of lighting per day is fine and a plug-in-timer is ideal to make the switching easy. Some recommend a midday lighting gap of an hour or so, known as a siesta, to help prevent algae.
This can work but I prefer to keep my plants lit for a constant photoperiod as this, in my experience, promotes greater plant growth that in itself is the most effective agent in combating algae.
When running multiple light units the tubes can be switched on and off in a staggered process to simulate a sunrise and sunset effect.
Carbon dioxide (CO2)
Almost half of an aquarium plant’s physical make up is carbon. Through photosynthesis the plant extracts carbon from CO2 and creates oxygen. This is one process that is fundamental to life.
With the higher lighting levels that are utilised in a hi-tech aquarium it is essential to inject CO2.
The CO2 produced by the fish and what naturally occurs in the tank’s water are negligible and are only sufficient for aquariums with low lighting. Without supplementing CO2 the plants will quickly starve, resulting in inevitable algae blooms and dying plants.
There are various methods of injecting CO2 but the most effective, controllable and convenient is to use a pressurised cylinder, a regulator and some form of diffuser or reactor.
The CO2 gas is compressed into either a refillable metal or a disposable plastic cylinder, ranging in size from 500g. to 2kg. The pressure when full is around 50 bar and this is brought down to a working pressure of 1 bar by using a regulator.
The output is then normally controlled via a needle valve that enables very fine flow adjustment known as the bubble rate.
A bubble counter is useful to measure this bubble rate which is determined by the aquarium’s individual CO2 requirement ie. larger aquariums require a higher bubble rate.
CO2-proof hosing should be used (standard silicone airline will slowly leak through the tube wall) and a one-way check valve is normally fitted to ensure that any water is prevented from entering the sensitive working parts of the regulator.
Finally the CO2 reaches a device that allows the CO2 gas to be dissolved into the aquarium water, either a diffuser or reactor.
A technique I have had success with is to have the CO2 flow directly into the external filter intake.
The bubbles are obliterated by the impeller and the resultant tiny bubbles dissolve in the filter chamber, with CO2 enriched water then flowing into the aquarium.
Another simple method is to use a ladder or spiral type diffuser. The principle works on extended water/gas contact time with each bubble taking a long path up through the unit, becoming smaller as the gas dissolves into the aquarium.
CO2 mist is another option. Using a ceramic disc diffuser the CO2 flows through the device creating micro bubbles that are so small they dissolve very quickly in the water.
This method is particularly effective if there is good water movement allowing the CO2 mist to be distributed effectively.
Finally there is the in-line reactor that is fitted to the filter output hose thus keeping the unit out of sight. The reactor is filled with bio-balls that allow the CO2 to dissolve in the water prior to reaching the aquarium.
CO2 and water chemistry
CO2 injection reduces pH in water through the production of carbonic acid.
CO2 and pH are intrinsically linked and it is this relationship that allows us to test CO2 levels in the water by using KH as a constant.
To measure CO2 you need pH and KH test kits. The results are simply cross-referenced on a pH/KH/CO2 chart. I can recommend the Nutrafin Low-Range pH and GH/KH test kits. Recommended levels of CO2 are 25 to 35 parts per million (ppm) or mg/l.
Higher levels can be used, especially to treat nuisance algae, but it is important to monitor fish behaviour as some fish species are more sensitive than others.
CO2 injection not only benefits the plants but creates a more acidic environment that most tropical fish prefer.
It is important to ensure the water is not too soft as the pH may crash. Aim for a KH of over 2°. Avoid pH-buffering agents that contain high levels of phosphate as they mess with the pH/KH relationship and can stimulate algae growth.
CO2 is only required during lighting. A night time shut-off solenoid can be coupled to the lights to save CO2. This can also provide a more stable CO2 level. During the day the plants use up CO2 and produce oxygen, thus raising pH.
At night the plants take up oxygen and produce CO2, thus lowering pH. So stopping CO2 production at night will ensure that the pH does not lower too much.
However injecting CO2 24/7 can be perfectly fine and I have done so for over two years with no problem. To check if pH does not fluctuate too much, test the pH just prior to and just after lighting.
Another method to ensure pH (and therefore CO2) remains stable is by using a pH controller. The pH probe and controller are linked to a solenoid that is switched on and off according to the pH level, thus ensuring a constant CO2 level.
The pH probe will require calibrating regularly; one danger of this method is that if the probe or controller malfunctions then the solenoid can become stuck on constantly pumping out potentially dangerously high levels of CO2, resulting in a possible environmental disaster.
What is colour temperature and full-spectrum?
When a black body is heated to thousands of degrees Kelvin (K) it produces light at a specific colour. The lower the temperature the redder the light. The higher the temperature the bluer the light. Generally most freshwater aquarium lighting varies from around 3000K (yellow/orange) up to 10000K (white/blue).
Full-spectrum or tri-phosphor tubes produce light with three (sometimes four) spectral peaks giving a ‘fuller’ light. Just to add confusion, spectral outputs will vary between manufacturers with the same claimed colour temperature ie. Interpet Daylight Plus appears warmer than the Sylvania Activa 172 even though colour temperatures are both 6500K.
Tip
One item of equipment that every fluorescent tube should have is a quality reflector. These are the cheapest and most effective way of boosting light intensity.
Buy the polished aluminium types and keep them scrupulously clean. The same goes for cleaning the tubes themselves. Water splashes will dry out leaving a residue that will reduce lighting efficiency.
This article was first published in the October 2006 issue of Practical Fishkeeping magazine. It may not be reproduced without permission.